
Fluffy & Healthy Yogurt Bread Recipe You’ll Love
Table of Contents

Looking for an easy homemade bread that’s simple to make? This no-yeast bread recipe is perfect for you! It only needs 5 ingredients and 5 minutes to prepare. You’ll love how it changes your baking experience.
This bread is not only tasty but also healthy. Each slice has 11 grams of protein. It’s a quick and easy recipe that even beginners can make.
No need for long rising times or hard kneading. This bread is ready in no time, ideal for those with busy schedules. It’s a great choice for anyone who wants fresh, healthy bread quickly.
Whether you’re into healthy eating or just need a quick bread option, this recipe is for you. It’s a simple, tasty, and protein-rich bread that’s easy to make. Get ready to elevate your baking with this delicious and effortless recipe!
Why This Greek Yogurt Bread Will Become Your New Favorite
Discover a game-changing bread recipe that combines incredible taste, nutritional benefits, and simplicity. Greek yogurt bread is about to revolutionize your home baking experience. It offers an artisan bread at home that’s both delicious and nutritious.
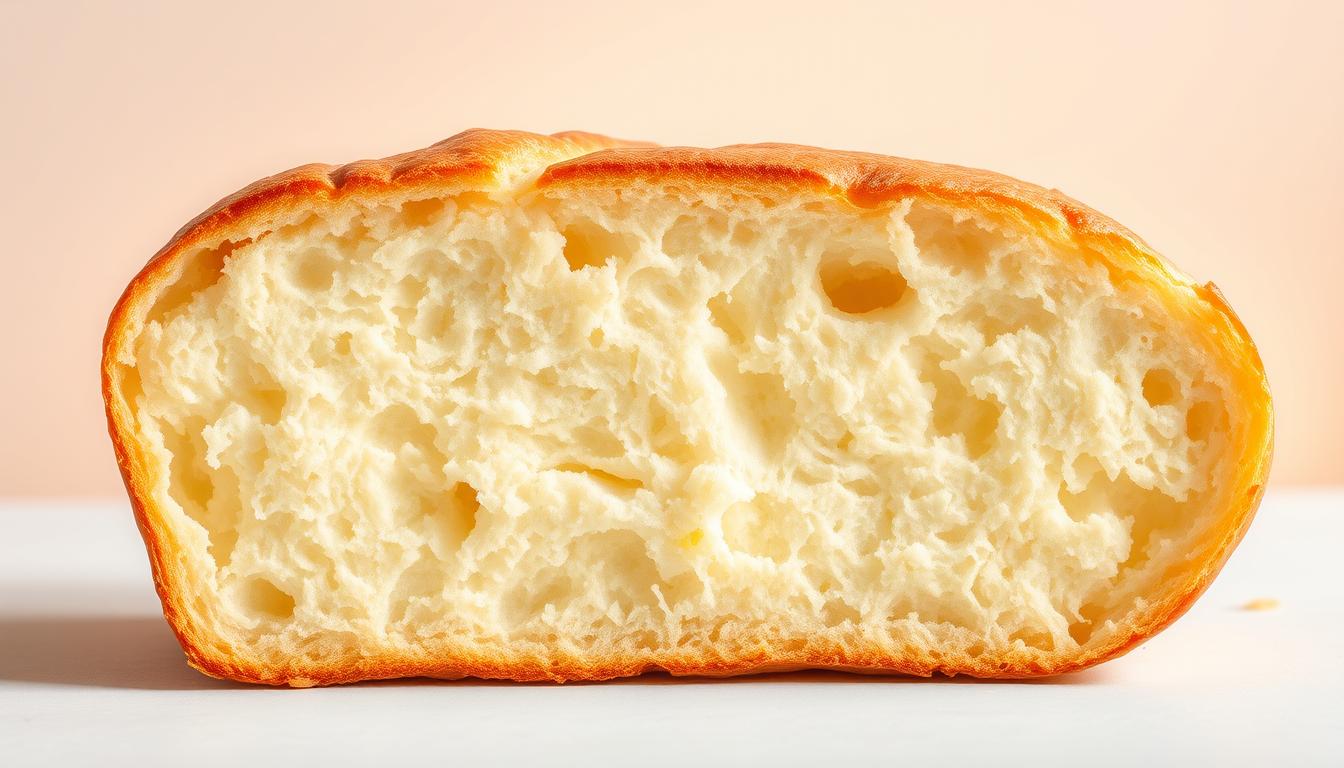
Perfect Artisan Bread Quality
Creating bakery-style bread might seem challenging, but this Greek yogurt bread recipe makes it surprisingly easy. The secret lies in using Greek yogurt. It transforms your homemade bread into a soft, pillowy masterpiece with a rich, complex flavor profile.
- Achieve professional-level texture without advanced baking skills
- Enjoy a tender crumb that rivals artisan bakery breads
- Create restaurant-quality bread in your own kitchen
High Protein Content Benefits
Your high-protein bread isn’t just delicious—it’s nutritionally powerful. Greek yogurt bread packs an impressive protein punch. It’s an excellent choice for health-conscious individuals and active lifestyles.
| Nutritional Highlight | Per Serving |
|---|---|
| Protein | 7g |
| Total Calories | 260 kcal |
| Carbohydrates | 48g |
Quick and Easy Preparation
Busy home bakers will love how simple this recipe is. With minimal ingredients and straightforward steps, you can enjoy fresh, homemade bread without spending hours in the kitchen. Perfect for weeknight dinners or weekend baking adventures!
- Total preparation time: 1 hour
- Cooking time: 2 hours
- Yields 8 servings
Essential Ingredients for Your Yogurt Bread Recipe
Starting your yogurt bread journey is all about picking the right ingredients. You’ll need just five simple items to make your baking special.
The key to this recipe is Greek yogurt. Not all yogurts are the same. Choose a full-fat Greek yogurt with 2% or 5% fat for a moist, rich bread.
- 3 cups all-purpose flour for yogurt bread
- 1½ tablespoons baking powder
- 1¼ teaspoons salt
- 1½ cups milk
- 1 cup Greek yogurt
Now, let’s look at the important ingredients:
- Flour: All-purpose flour is the base of your bread. It gives your bread a light, airy texture.
- Greek Yogurt: This adds moisture, tanginess, and makes the bread tender. The fat content makes it richer.
- Baking Powder: This leavening agent makes your bread rise and become fluffy.
“The secret to great bread lies in understanding how each ingredient works together.” – Baking Enthusiast
Pro tip: When measuring flour, use the spoon-and-level method. This avoids dense bread and gives you a light, delicious texture.
Kitchen Tools and Equipment Needed
Preparing yogurt bread needs the right tools for success. Having the right equipment makes baking smooth and fun.
Start your bread-making journey by picking the best tools. The quality of your mixing equipment and baking pan greatly affects the outcome.
Baking Pan Selection
Choosing the right loaf pan is key for yogurt bread. You’ll need a 9×5 inch pan made of:
- Heavy-gauge aluminum
- Non-stick ceramic
- Glass with good heat distribution
Mixing Tools
Good mixing tools are vital for a smooth dough. You’ll need:
- Large mixing bowl
- Wooden spoon or silicone spatula
- Measuring cups and spoons
- Optional: Stand mixer with dough hook attachment
Additional Equipment
Complete your collection with these tools:
- Wire cooling rack
- Kitchen scale for precise measurements
- Instant-read thermometer
- Clean kitchen towel for covering dough
Quality tools make your yogurt bread stand out.
Step-by-Step Baking Instructions
Learning to make yogurt bread is a fun journey. It turns simple ingredients into a tasty, protein-rich bread. Your family and friends will love it.
Before baking, make sure you have all your ingredients and tools ready. Good preparation leads to a great loaf.
- Preheat your oven to 425°F (218°C)
- Measure out 4 cups of self-rising flour precisely
- Mix 2 cups of plain yogurt into the flour
- Stir ingredients until a sticky dough forms
- Transfer dough to a prepared baking pan
- Spread dough evenly using a rubber spatula
When baking, mix the ingredients gently. Overmixing can make the bread tough. Just mix until everything is combined.
“Perfect bread is about technique, not perfection” – Professional Baker’s Wisdom
Bake your bread for about 25 minutes. Check if it’s done by inserting a toothpick. It should come out clean.
| Ingredient | Quantity | Protein Content |
|---|---|---|
| Self-Rising Flour | 4 cups (528g) | 3g per 1/4 cup |
| Plain Yogurt | 2 cups (479g) | 2-3g per serving |
Your homemade yogurt bread is ready to enjoy! Each serving has about 10g of protein and a fresh, delicious taste.
Expert Tips for Perfect Texture and Flavor
Making the perfect yogurt bread needs precision and skill. A few key baking tips can make your homemade bread stand out. Whether you’re new to baking or want to improve, these expert tips will guide you to a delicious loaf with the right texture.
Creating exceptional yogurt bread means knowing how to handle ingredients and bake. Let’s explore the important techniques to boost your bread-making skills.
Precise Flour Measurement
Getting flour measurement right is key for yogurt bread. Follow these steps for the perfect consistency:
- Spoon flour into measuring cups gently
- Use a knife to level off the top precisely
- Avoid packing or pressing down the flour
- Invest in a digital kitchen scale for ultimate accuracy
Masterful Mixing Techniques
Mixing is vital for improving bread flavor and texture. Keep these professional tips in mind:
- Mix ingredients until just combined
- A few small flour patches are acceptable
- Overmixing can lead to tough, dense bread
- Use a stand mixer for consistent results
“The secret to great bread is in the gentleness of your touch.” – Professional Baker’s Wisdom
Temperature Control Mastery
Controlling temperature is key for perfect bread texture. Consider these professional recommendations:
- Use room temperature ingredients
- Ideal yeast activation temperature: 95-110°F
- Bake at a consistent 350°F
- Cover with foil midway to prevent over-browning
By following these expert yogurt bread baking tips, you’ll make a delicious, professional-quality loaf. It will impress your family and friends. Remember, practice makes perfect!
Creative Recipe Variations and Add-ins
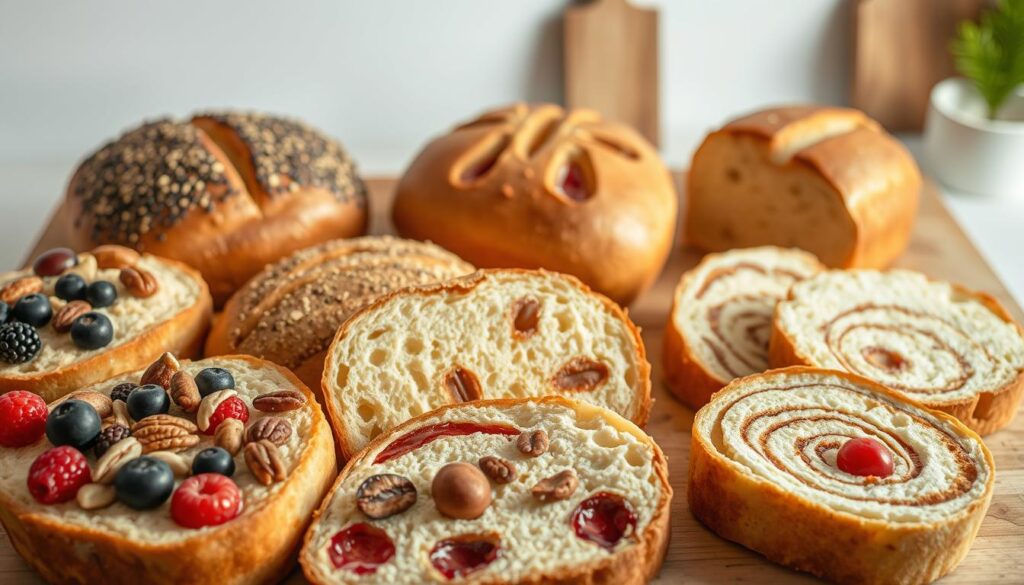
Turn your simple yogurt bread into a tasty journey with exciting variations. Try new flavors and ingredients to make your bread stand out.
Flavor Profiles to Explore
Discover the fun of adding different ingredients to your bread:
- Herb-Infused Variations:
- Add 1 teaspoon of fresh rosemary
- Sprinkle dried thyme for a Mediterranean touch
- Mix in chopped oregano for a robust flavor
- Sweet Flavor Combinations:
- Fold in dark chocolate chips
- Incorporate dried cranberries
- Swirl cinnamon for warmth
Try different yogurt types to find your favorite flavors. Vanilla Greek yogurt is sweet and pairs well with many mix-ins.
Nutrition-Packed Add-Ins
| Ingredient Category | Suggested Add-Ins | Nutritional Benefit |
|---|---|---|
| Nuts | Chopped almonds, walnuts | Protein, healthy fats |
| Seeds | Sunflower, pumpkin seeds | Minerals, omega-3 |
| Fruits | Dried blueberries, apricots | Fiber, antioxidants |
“Creativity in baking is about finding your unique flavor combination!” – Artisan Baker’s Motto
Start with small amounts of add-ins and adjust to taste. Your yogurt bread can be a canvas for your creativity!
Storage and Freezing Guidelines
Keeping your homemade yogurt bread fresh is key. It’s important to store and freeze it right. This way, your bread stays tasty and fresh for longer.
Storing your bread correctly lets you enjoy it for weeks or months. The best method depends on how fast you want to eat it.
Counter Storage Methods
Here’s how to store yogurt bread at room temperature:
- Wrap the bread in a clean kitchen towel or place in a bread box
- Keep at room temperature for 3-7 days
- Store in a cool, dry place away from direct sunlight
- Use an airtight container to prevent moisture loss
Freezing Instructions
Freezing your bread is a great way to keep it fresh longer. Here’s how to do it right:
- Cool the bread completely before freezing
- Wrap tightly in plastic wrap or aluminum foil
- Place in a freezer-safe bag, removing as much air as possible
- Label with the date of freezing
- Store in the freezer for up to 3 months
To thaw frozen bread, let it sit at room temperature for 3 hours. For a quick warm-up, bake it in a 350°F oven for 10-15 minutes. This will make it soft and warm again.
Pro tip: Slice the bread before freezing for easier portioning and quicker thawing!
By using these tips, you can keep your yogurt bread fresh. Whether you’re storing it for a few days or freezing it for later, your bread will always be delicious.
Serving Suggestions and Pairing Ideas

Your homemade yogurt bread is perfect for many delicious pairings. It’s great for a quick breakfast or a fancy appetizer. These ideas will make your bread a highlight of your meal.
Breakfast Yogurt Bread Serving Ideas
Begin your day with these tasty yogurt bread ideas:
- Spread creamy nut butter for a protein-packed breakfast
- Top with fresh berries and a drizzle of honey
- Create a savory toast with scrambled eggs
- Pair with Greek-style yogurt and fruit compote
Mediterranean-Inspired Appetizers
Turn your yogurt bread into a gourmet treat with these Mediterranean options:
- Dip in high-quality olive oil with sea salt
- Serve alongside marinated olives
- Create bruschetta with roasted bell peppers
- Top with cucumber and herb spreads
Snack and Sandwich Variations
Find creative ways to enjoy yogurt bread at any time:
- Make grilled sandwiches with fresh vegetables
- Use as a base for avocado toast
- Slice and serve with hummus or tzatziki
- Create mini crostini with sun-dried tomatoes
Yogurt bread is so versatile, you’ll always find new ways to enjoy it. Try different toppings and pairings to find your favorite!
Conclusion
Making your own yogurt bread is more than a fun cooking project. It opens the door to enjoying the benefits of homemade bread in your own kitchen. This simple recipe turns everyday ingredients into something truly special.
The perks of making bread at home go beyond just taste. You’ll find out how easy it is to make a healthy, protein-packed bread that’s better than store-bought. With just a little time and effort, anyone can become a pro at this recipe, no matter their baking skills.
We encourage you to make this recipe a regular part of your cooking routine. Share your baking stories, try new things, and feel proud of making a bread that’s good for you. Your kitchen is now a place where you can create something amazing, one slice at a time.
Remember, every skilled baker started somewhere. Your yogurt bread adventure is just beginning, and we’re excited to hear about your tasty creations!
FAQ
Can I use regular yogurt instead of Greek yogurt?
Greek yogurt is great for its thick texture and protein. But, regular yogurt works too. You might need to strain it to get rid of extra moisture. This helps it feel more like Greek yogurt in your bread.
How long does yogurt bread stay fresh?
Your yogurt bread will last 2-3 days at room temperature in a sealed container. For longer freshness, refrigerate it for up to 5 days. Or, freeze it for up to 3 months.
Can I make this bread gluten-free?
Yes, you can use gluten-free flour instead of all-purpose flour. Choose a 1:1 baking flour with xanthan gum for structure. The texture might be a bit different, though.
What are some quick add-in variations for this bread?
Add herbs like rosemary or thyme for a savory taste. Or, mix in chocolate chips, dried fruits, or nuts for sweetness. Lemon zest, cinnamon, or cheese are also great for extra flavor.
Can I make this bread without baking powder?
Baking powder is key for a light, fluffy bread. Without it, you can make a substitute with baking soda and cream of tartar. But, the original recipe works best.
Is yogurt bread suitable for meal prepping?
Absolutely! Yogurt bread is perfect for meal prep. Bake a loaf, slice it, and freeze portions. Just thaw or lightly toast when you’re ready.
How can I tell if the bread is fully baked?
Check if the bread is done by inserting a toothpick or knife into the center. If it’s clean, the bread is ready. The top should be golden and springy when pressed.
Can I make this bread in a different type of pan?
You can use a cast-iron skillet, muffin tins, or a cake pan instead of a loaf pan. Just adjust the baking time and watch for even browning.